Showing posts with label How to.... Show all posts

Wednesday, January 11, 2012

A little bit of TLC!


Ok so those bent, buckled and broken pieces....I'm going to see what I can do 
to to end these little babies!


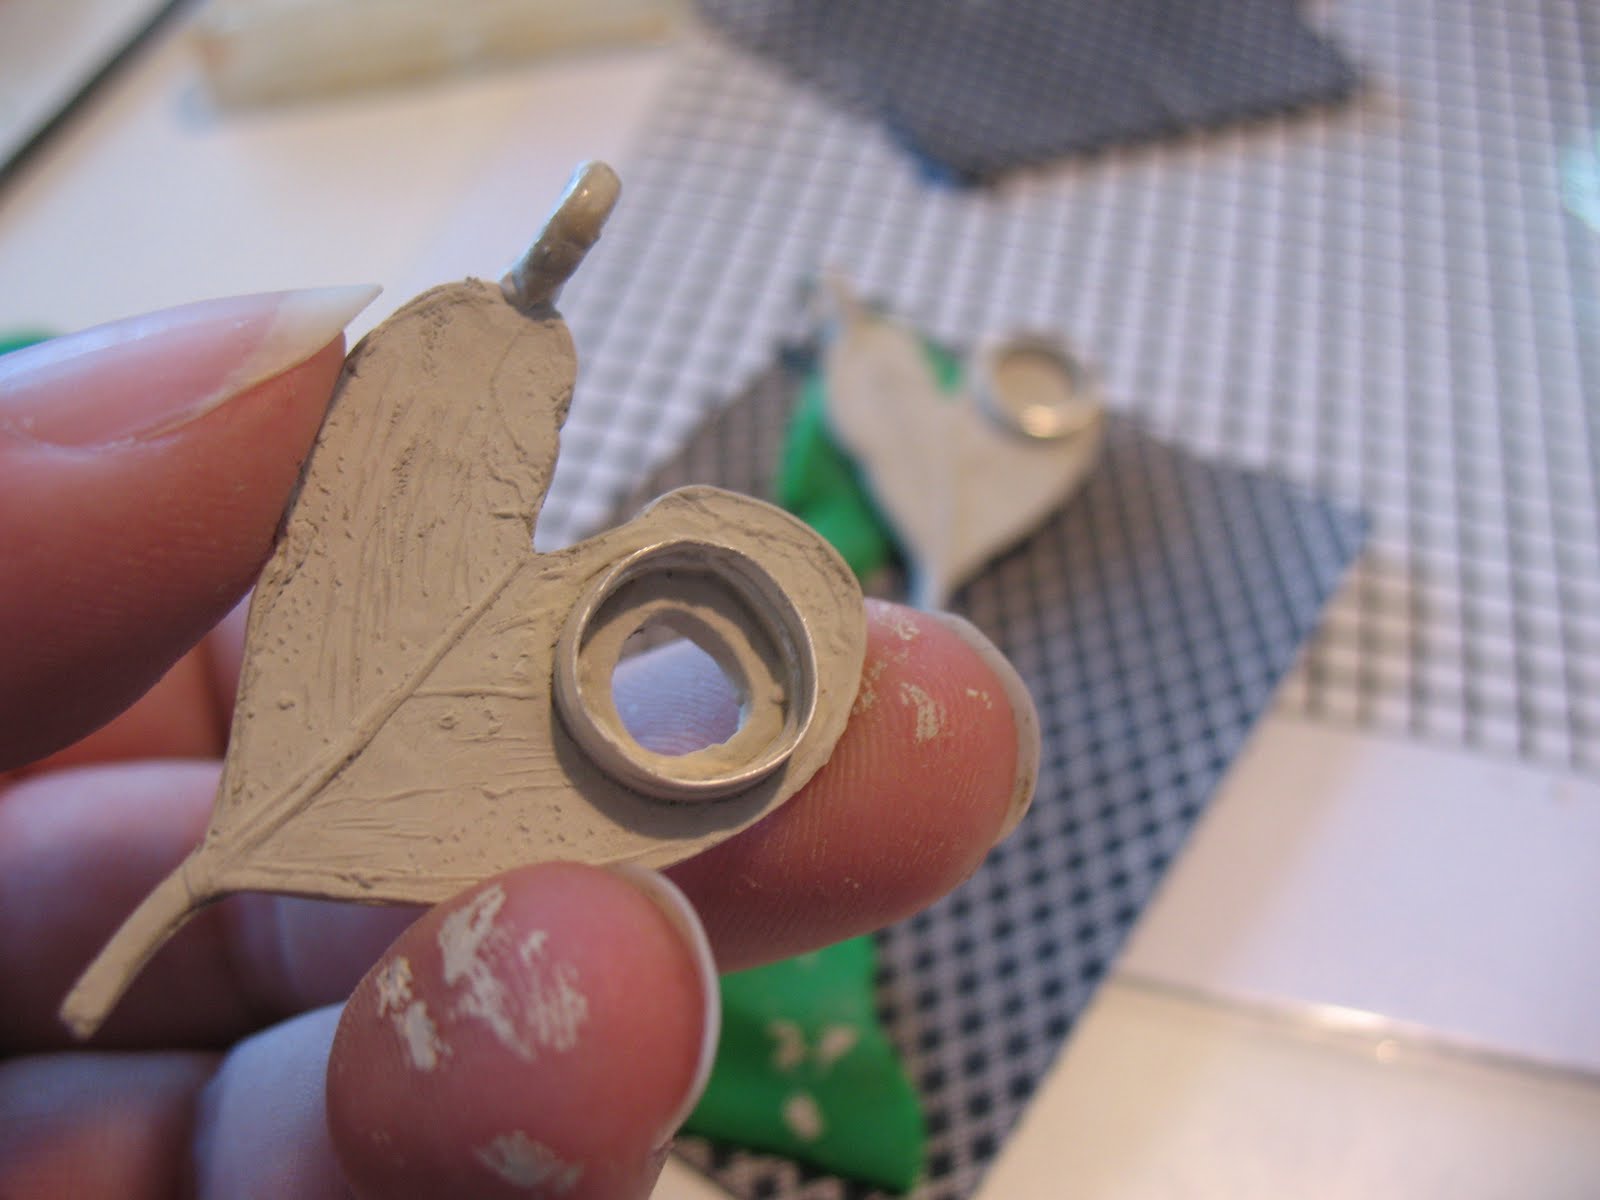
A busted backside where the bezel was obviously pushed too far into the clay, 
is patched with some fresh clay packed into the fired piece.


Once dried, re-fired and polished, its backside is looking much better, 
although there is still a small crack.


I'm trying to figure how to do this more successfully, the new section of clay is of course 
going to shrink(causing the crack), while the already fired section has already done all its shrinking...aside from refilling this smaller crack and firing it again, i'm all out of ideas of 
how to over come this! 

I'll do some research and see what I can dig up...and of course I welcome all and
 any suggestions and hints!


Once the stone is set she's not looking too bad!


Friday, December 9, 2011

Recycle & reconstitute!

What a very satisfying little exercise this was......!


left overs, buggered up bits, wanna be 's, got no chance of being jewellry, 
dry crsusty clay!


Cut up any big bits, then grind them up in a morter and pessel or a coffee grinder.


Pam sift the clay particals to ensure no big bits have snuck through without 
getting a good grinding.


Slowly add distilled water and mix...I had it explained to me as the same as making a white sauce, a little at a time...unless of course your like me who just goes the whole hog, pour a bucket load of milk in and hope that after some serious simmering it will all bind itself into a lovely lump-less sauce!


You want the clay to come away form the bowl in one lovely lump...if its too wet you will need to leave it for a bit to lose a bit of moisture.


oil up two sheets of plastic...(Pam uses a plastic A4 folder) and roll out the clay and then fold it back up on itself and do this several times to get a good consistancy.


Roll the clay up in some glad wrap and let sit for several hours or overnight before you use your newly reconsitutied clay!

I've been collecting my little jar of discarded clay and sanding's for months...and in the last few days contributed several ugly attempts at hollow beads...all of this ground up and reconsituted weighed a wopping 89 grams...and for those clayers out there..you' know that is a wooping lot of clay...worth around $200. OMG!

Can I just say again how satisfying this exerscie was....Awesome...it almost like grinding up all those wasted hours and disapointing failures into somethings usable and valuable! Love it

Wednesday, October 26, 2011

Bend me, bake me anyway you wanna shape me!

So today Pam and I are using Bend and bake polymer clay to make our own texture 
mats. We foraged around in the garden to find some shapes and textures that could 
push into our clay to create the mats.

After rolling the polymer flat through the pasta machine, we push and rolled our 
textures in the clay, and then baked is as directed on the clay packet....and yeah
our own unique texture plates!


We also used tools we had handy to create basic texture mats.


..and obviously its called bake and bend for a reason, once baked its extra 
flexible, which means its awesome for texture plates and mould making!

Tuesday, October 11, 2011

Lay your cards on the table!

Every thing you do in silver clay is measured in cards! Yes, you heard me playing cards. When rolling out clay you use playing cards stacked in even amounts on either side of the clay. You use the cards to ensure you roll the clay at an even thickness and it is also used to control the thickness of the clay.

So when you read clay project instructions etc...it will also refer to a card thickness...such as..roll a 5cm long strip 3 cards thick. 

...and with the expense of the clay its helpful to keep an eye on things.


I often find that while I'm thinking (staring out the window day dreaming) my hands automaticly start shuffling.....a sign of one too many friday nights in the neighbours shed playing Black Jack.

Although the cards are a very useful tool they are sometimes restrictive and frustrating...when you are rolling a piece of clay longer than the stretch of the card, you either have to stop mid roll and move the cards or you can try to butt two stacks of cards together and hope they stay together while you roll but generally you end up with a dip where the cards don't meet.....sends me batty!

So, now with all that hoo har background info let me intoduce you to my new 'non-stop rollin baby'!

The roller comes with these little groves in each end and a selection of different sized rubber rings, that...you guessed it, are measured in card thickness. Red for two cards, Blue for 3 cards etc. You place the desired bands into the groves and then you roll away...at the desired card height! 

Woohoo!  No rolling off the end of the card, no issues with rolling in the opposite direction...just roll away baby!

Wednesday, July 6, 2011

Don't discard the doodle!

Yes, gals, I know that its tough out there and we have all at one stage or another vowed to pack it in, give up on the men and some have even gone as far to consider batting for the other team.....but I'm here to tell you don't discard the doodle so quickly!  ...get your minds out of the gutter, I am not here to talk about men's anatomy!


I'm talking about doodles, you know the ones we do unconsciously when we are gas bagging on the phone, in a boring meeting or if your like me whenever you have a pen in your hand. Often there is gold in these unconscious creative scribbles.


Today we are making photopolymer plates using our own drawings to ultimately make texture plates to use on the silver clay. Being put on the spot my brain hurts as I search through my internal archives for an image to use...as with writing blocks, I find the best way to deal with creative blocks is to just put felt tip to paper and go for it....so I did, and out came the doodles. The same little shapes that always come from me, my munted paisleys came out.


...check out the sequence from doodle to awesome patterned silver. Woohoo!


Some quality doodle!!


The doodles are reduced and printed onto a clear film like accetate 
and placed onto of the special light sensitive plate.


After making a test plate to get the timing right, the plate and 
design on the clear sheeting are placed in a little light machine
(the same machine used to set acrylic nails infact) exposed to 
the light, then the plate is washed with warm water and a soft 
bristle brush to wash out to parts of the plate that did not get 
exposed to the light. You will then see your design in 3D on 
the plate. Woohoo!


The final result, I've used the finished photopolmer plate 
and pushed into this piece to create the pattern.

Woohoo I am loving the potential of this process!

Sunday, July 3, 2011

Creating an investment.

As with all metal clay, silver metal clay shrinks when its fired and the organic binder burns away, depending on the type and brand of clay the shrinkage varies from 8% - 30%. So obviously this is something that needs to be considered, especially when making rings or bezels (out of paper clay sheeting). One way to ensure the bezel or ring does not shrink beyond the size required is to create a replica stone out of a casting investment.  


  • Firstly you need to make a mould of the stone or for rings you can buy purpose made moulds for the size of ring you require.
  • As above this can be done by pushing the stones into polymer clay.
  • Remove the stone and then bake the polymer clay.


  • The powdered Investment is mixed with water to create a paste.
  • The paste is poured into the mould and allowed to dry.


  • Then the investment in removed from the mould and placed into the dried silver clay piece that is ready to be fired.
  • Once the piece is fired and cooled, the investment can be removed by dissolving it in water.
  • Now, in theory, the bezel or ring should be the required size.


The investment and ring after firing!


Thursday, June 30, 2011

Bezels # 2 - Creating an appropriate house for my beloved stones!

Another way to create a bezel to use with silver clay is to use Silver clay paper sheet.
Silver clay paper sheet comes in a thin sheet of clay, which is flexible and allows you to fold, form and weave with it. 


PAPER SHEET BEZELS
1. Measure the circumference of the stone/bead and measure and mark your paper clay to size
2. Cut the paper sheet using a sharp blade
3. You will need to cut two strips the same size
4. Now this is the tricky bit, you need to wet one of the strips on one side with a brush, then you need to line the sheets up and stick them together, so you have one strip the right length that is double thickness.
5. The piece then needs to be left to dry
6. Once fully dry the piece needs to be fired in either the kiln of by torch
7. Then once fired the paper sheet can be used as normal bezel wire, shaped, joined, fired then set into its final setting


Fix it, mend it, fudge it!
After firing my bezel, when I began to shape it around my stone the two pieces came apart. The pieces had not fused together properly, so using a clay slip I had to rejoin the section coming apart and then re-fire it.


How dam cute is this tiny peg??? I laughed so hard when Pam produced this to hold my pieces together! Yes, I know...small things amuse small minds! lol!


Friday, June 17, 2011

Bezels - Creating an appropriate house for my beloved stones!

Working with Pam previously I learnt some of the basics of metal clay, which allowed me to create all sorts of pieces that made my heart sing, partly because I thought it would take me months to learn the necessary skills and partly because we made such lovely little adornments!......but the one thing I've been desperate to learn is how to set stones in silver clay. If you don't already know you'll soon see, I am just a little bit obsessed with crystals, gem stones and things of the earth!

So here I am learning how to create suitable house for my beloved stones!


CREATING A BEZEL
1.Using a pre-made bezel wire measure the circumference of the stone/bead.
2. Then the bezel wire needs to be cut and the ends filed to fit together snuggly.
3. The ends now need to be joined using a metal clay slip or plug.
4. The bezel is then let to dry fully before firing.
5. The bezel can either be fired in the kiln or with a hand held torch.
6. The bezel in now ready to be fixed to your clay base for a pendant/earring etc(Woohoo!).
                                   My fired bezel set into the metal clay pendant!