Thursday, June 30, 2011

Bezels # 2 - Creating an appropriate house for my beloved stones!

Another way to create a bezel to use with silver clay is to use Silver clay paper sheet.
Silver clay paper sheet comes in a thin sheet of clay, which is flexible and allows you to fold, form and weave with it. 


PAPER SHEET BEZELS
1. Measure the circumference of the stone/bead and measure and mark your paper clay to size
2. Cut the paper sheet using a sharp blade
3. You will need to cut two strips the same size
4. Now this is the tricky bit, you need to wet one of the strips on one side with a brush, then you need to line the sheets up and stick them together, so you have one strip the right length that is double thickness.
5. The piece then needs to be left to dry
6. Once fully dry the piece needs to be fired in either the kiln of by torch
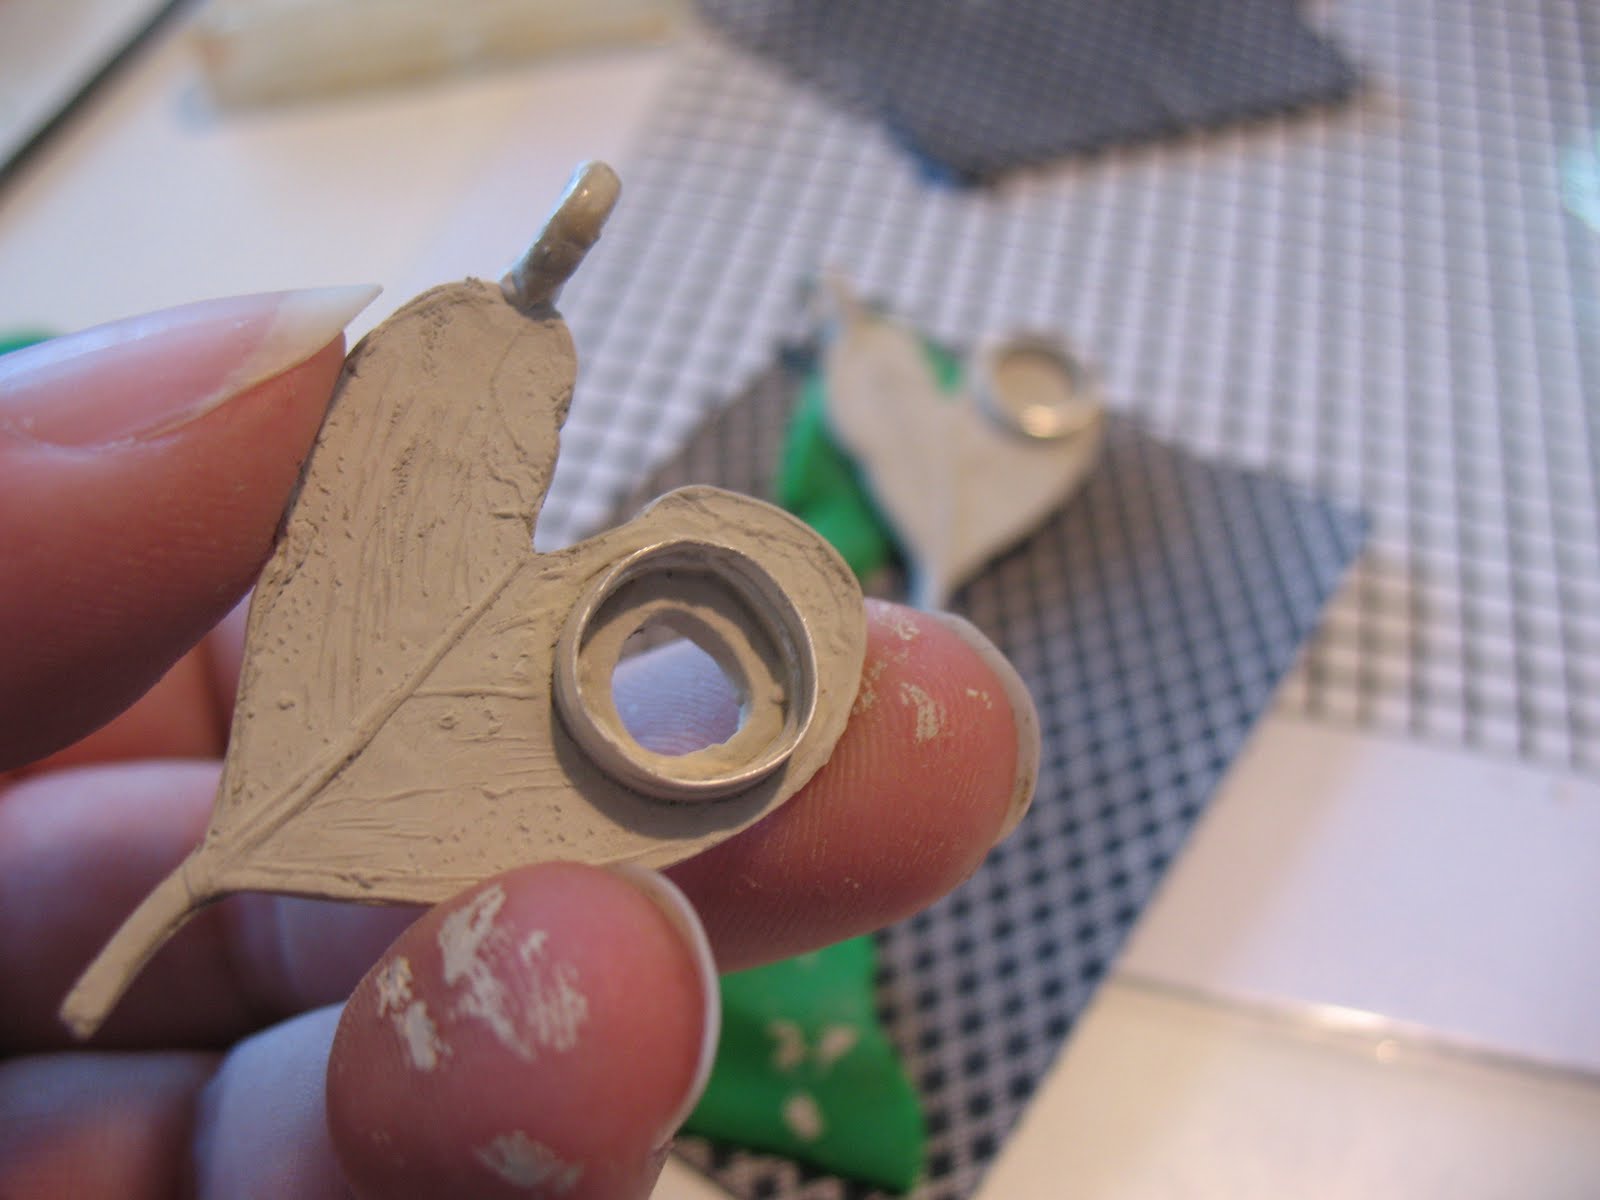
7. Then once fired the paper sheet can be used as normal bezel wire, shaped, joined, fired then set into its final setting


Fix it, mend it, fudge it!
After firing my bezel, when I began to shape it around my stone the two pieces came apart. The pieces had not fused together properly, so using a clay slip I had to rejoin the section coming apart and then re-fire it.


How dam cute is this tiny peg??? I laughed so hard when Pam produced this to hold my pieces together! Yes, I know...small things amuse small minds! lol!


Tuesday, June 21, 2011

Food and water: who needs it?

Well, its 2.30pm and again Pam and I have forgotten to stop for lunch or even a drink...if not for the 'oh my god, my head hurts from lack of water' reminder we would still be happily working away!


Orange and almond cake (almost as good as 'playing with clay') for morning tea has kept us going! (Thanks Eliza!)

Friday, June 17, 2011

Bezels - Creating an appropriate house for my beloved stones!

Working with Pam previously I learnt some of the basics of metal clay, which allowed me to create all sorts of pieces that made my heart sing, partly because I thought it would take me months to learn the necessary skills and partly because we made such lovely little adornments!......but the one thing I've been desperate to learn is how to set stones in silver clay. If you don't already know you'll soon see, I am just a little bit obsessed with crystals, gem stones and things of the earth!

So here I am learning how to create suitable house for my beloved stones!


CREATING A BEZEL
1.Using a pre-made bezel wire measure the circumference of the stone/bead.
2. Then the bezel wire needs to be cut and the ends filed to fit together snuggly.
3. The ends now need to be joined using a metal clay slip or plug.
4. The bezel is then let to dry fully before firing.
5. The bezel can either be fired in the kiln or with a hand held torch.
6. The bezel in now ready to be fixed to your clay base for a pendant/earring etc(Woohoo!).
                                   My fired bezel set into the metal clay pendant!

Sunday, June 12, 2011

and on the 4th day.....

On day 1, Pam and I talked fairly consistently about clay, techniques and life in general...today on our 4th day, we work silently in our own little worlds, within clay walls and open aired clay framed windows!
'You stupid woman', 'bugger, bum, poop' and other such exclamations break the silence and elicit either laughter or sympathy from the other party!


These occasional outburst of self abuse can be heard due to some construction drama, with fragile little clay walls collapsing or sin of all sins, one of us (mostly me; currently suffering a major case of the woopsie daisies) drops the fragile little unfired pieces. In one clumsy movement hours of labour can be undone!