Thursday, July 28, 2011

Cut from the same mould - sexy texture plates!

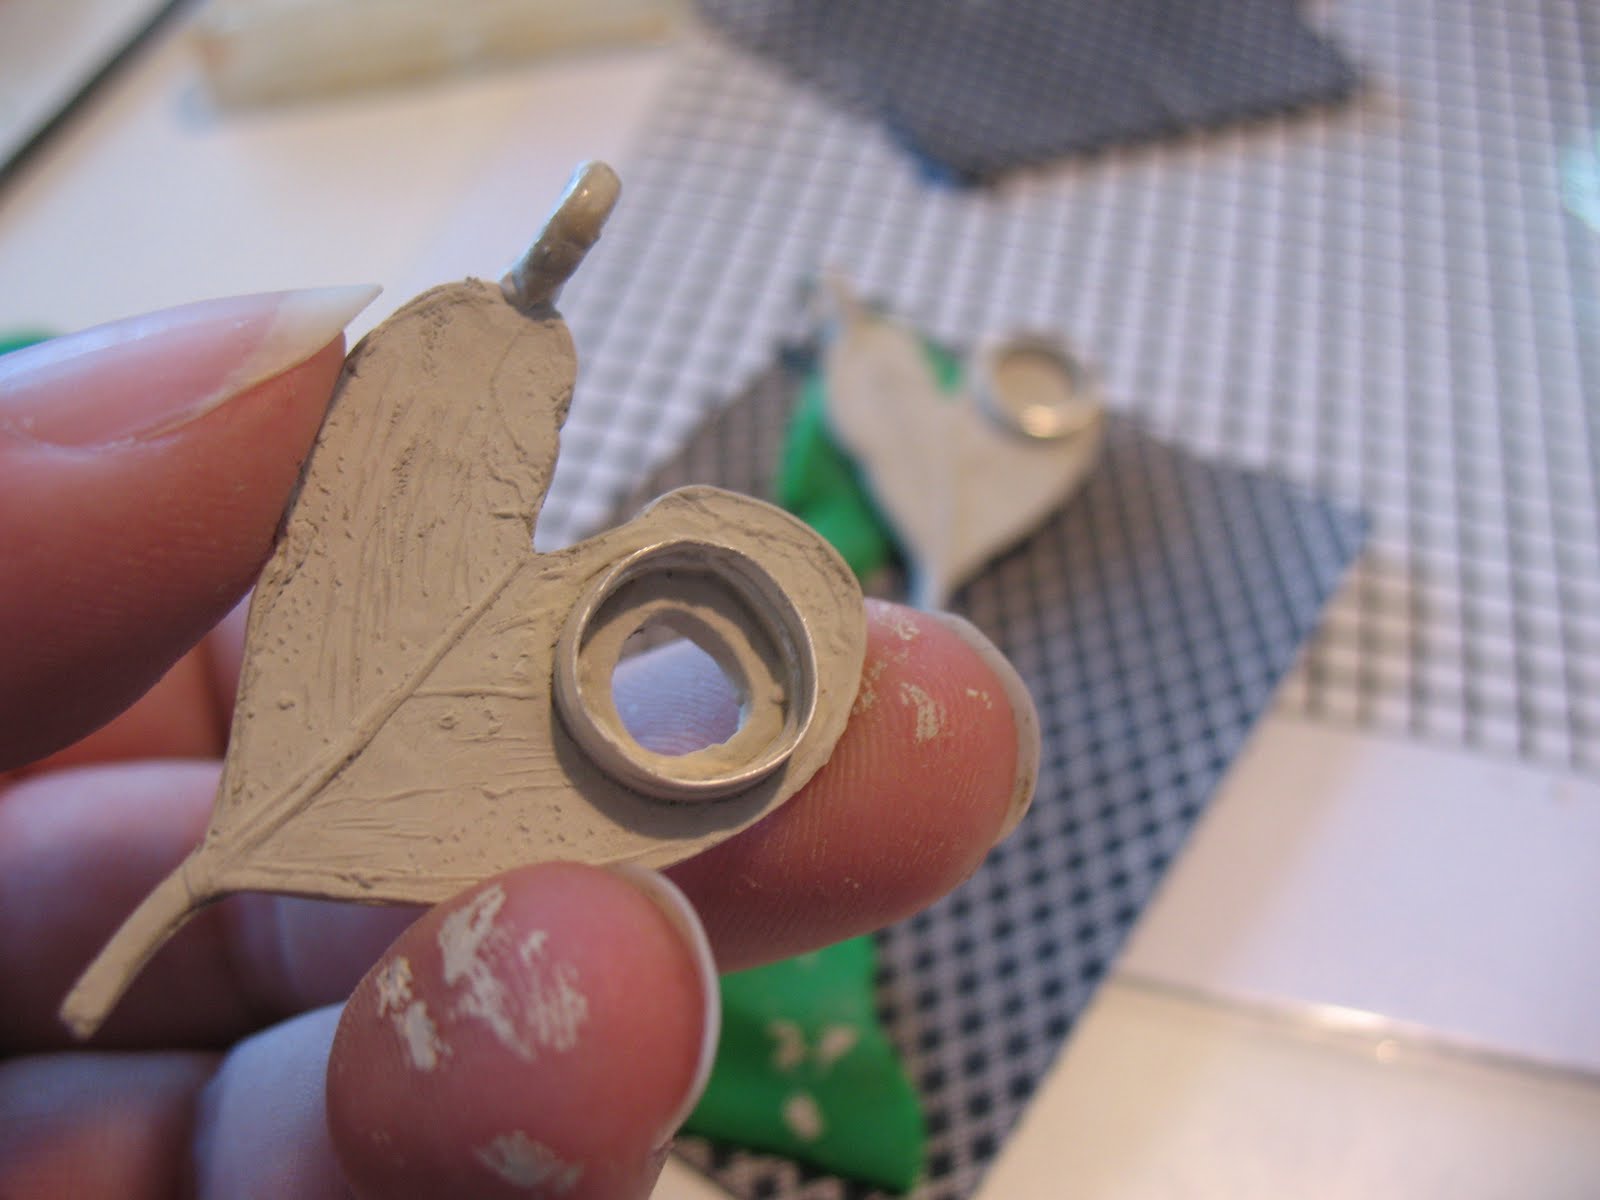
Very happy with my sexy new texture plate!

This lovely mould/texture plate is awesome with its flexibility, curvy lines and promise of great creations to come...but as seductive as this is, its mass produced and unfortunalty I'm sure I'm not the only one in love with this sexy little baby! 

Monday, July 18, 2011

The ring that didn't fit (These big hands!)

I have big hands....seriously lets get real! I have really big hands. And now that I sitting here looking at them, I'm wondering how it is that they manage to do the really little fiddly things that I have them do...and dear hands I must say that you do them so well, mostly you execute that which my mind dreams up with relative ease! In fact I'll take this moment to thank and pay homage to my hands! Hard working appendages that so often get taken for granted.

Arrr yes, the ring that didn't fit! Not that this is such a big deal really, rings NEVER fit me...and even when I try to get them sized I'm often told that the little silver band just cant do it, it just wont stretch that far...sorry love! 


Well hoo har to that I say, let make some big arss rings that can adorn these hands! And so with much excitement I set about making rings....it was one of the first things I wanted Pam to teach me.

Teach how to make rings, rings, please lets do rings!

..and so the ring making begins...I do the measuring, then taking the shrinkage into account, I made it two sizes bigger, I used a correctly sized investment and still after all of this.....the little beauty doesn't fit...Waaaaaaaaaa!


You know that dog like creature from the dark crystal... called fizgig? when he cries,his mouth, in fact his whole head opens up to let out a wail...I'm doing that right now!


Fizzgig

Friday, July 8, 2011

To invest or not to invest?

So the question is invest or not to invest?

Why is this even something to question, I hear you ask? Clearly the Investment has many benefits; your stone 'will' indeed fit into the house you have made for it, and the ring will 'mostly' fit the finger it is made for, so what is the problem?

The problem is that casting investment is made from a blend of gypsum and crystobilite.  The little research I have done into this product recommend wearing a suitable dust mask to avoid inhalation as well as stating that studies have shown that silica-bearing products can cause lung irritation and silicosis over time if breathed repeatedly without protection.

So even with protection, what are the risks? 

Yes girls we have all heard the stories about the protection that was not protection enough, some of us may even be living proof of this. lol! 

But seriously, I would love any info, feedback or comments about the safety of this type of casting investment.

Wednesday, July 6, 2011

Don't discard the doodle!

Yes, gals, I know that its tough out there and we have all at one stage or another vowed to pack it in, give up on the men and some have even gone as far to consider batting for the other team.....but I'm here to tell you don't discard the doodle so quickly!  ...get your minds out of the gutter, I am not here to talk about men's anatomy!


I'm talking about doodles, you know the ones we do unconsciously when we are gas bagging on the phone, in a boring meeting or if your like me whenever you have a pen in your hand. Often there is gold in these unconscious creative scribbles.


Today we are making photopolymer plates using our own drawings to ultimately make texture plates to use on the silver clay. Being put on the spot my brain hurts as I search through my internal archives for an image to use...as with writing blocks, I find the best way to deal with creative blocks is to just put felt tip to paper and go for it....so I did, and out came the doodles. The same little shapes that always come from me, my munted paisleys came out.


...check out the sequence from doodle to awesome patterned silver. Woohoo!


Some quality doodle!!


The doodles are reduced and printed onto a clear film like accetate 
and placed onto of the special light sensitive plate.


After making a test plate to get the timing right, the plate and 
design on the clear sheeting are placed in a little light machine
(the same machine used to set acrylic nails infact) exposed to 
the light, then the plate is washed with warm water and a soft 
bristle brush to wash out to parts of the plate that did not get 
exposed to the light. You will then see your design in 3D on 
the plate. Woohoo!


The final result, I've used the finished photopolmer plate 
and pushed into this piece to create the pattern.

Woohoo I am loving the potential of this process!

Sunday, July 3, 2011

Creating an investment.

As with all metal clay, silver metal clay shrinks when its fired and the organic binder burns away, depending on the type and brand of clay the shrinkage varies from 8% - 30%. So obviously this is something that needs to be considered, especially when making rings or bezels (out of paper clay sheeting). One way to ensure the bezel or ring does not shrink beyond the size required is to create a replica stone out of a casting investment.  


  • Firstly you need to make a mould of the stone or for rings you can buy purpose made moulds for the size of ring you require.
  • As above this can be done by pushing the stones into polymer clay.
  • Remove the stone and then bake the polymer clay.


  • The powdered Investment is mixed with water to create a paste.
  • The paste is poured into the mould and allowed to dry.


  • Then the investment in removed from the mould and placed into the dried silver clay piece that is ready to be fired.
  • Once the piece is fired and cooled, the investment can be removed by dissolving it in water.
  • Now, in theory, the bezel or ring should be the required size.


The investment and ring after firing!


Thursday, June 30, 2011

Bezels # 2 - Creating an appropriate house for my beloved stones!

Another way to create a bezel to use with silver clay is to use Silver clay paper sheet.
Silver clay paper sheet comes in a thin sheet of clay, which is flexible and allows you to fold, form and weave with it. 


PAPER SHEET BEZELS
1. Measure the circumference of the stone/bead and measure and mark your paper clay to size
2. Cut the paper sheet using a sharp blade
3. You will need to cut two strips the same size
4. Now this is the tricky bit, you need to wet one of the strips on one side with a brush, then you need to line the sheets up and stick them together, so you have one strip the right length that is double thickness.
5. The piece then needs to be left to dry
6. Once fully dry the piece needs to be fired in either the kiln of by torch
7. Then once fired the paper sheet can be used as normal bezel wire, shaped, joined, fired then set into its final setting


Fix it, mend it, fudge it!
After firing my bezel, when I began to shape it around my stone the two pieces came apart. The pieces had not fused together properly, so using a clay slip I had to rejoin the section coming apart and then re-fire it.


How dam cute is this tiny peg??? I laughed so hard when Pam produced this to hold my pieces together! Yes, I know...small things amuse small minds! lol!


Tuesday, June 21, 2011

Food and water: who needs it?

Well, its 2.30pm and again Pam and I have forgotten to stop for lunch or even a drink...if not for the 'oh my god, my head hurts from lack of water' reminder we would still be happily working away!


Orange and almond cake (almost as good as 'playing with clay') for morning tea has kept us going! (Thanks Eliza!)

Friday, June 17, 2011

Bezels - Creating an appropriate house for my beloved stones!

Working with Pam previously I learnt some of the basics of metal clay, which allowed me to create all sorts of pieces that made my heart sing, partly because I thought it would take me months to learn the necessary skills and partly because we made such lovely little adornments!......but the one thing I've been desperate to learn is how to set stones in silver clay. If you don't already know you'll soon see, I am just a little bit obsessed with crystals, gem stones and things of the earth!

So here I am learning how to create suitable house for my beloved stones!


CREATING A BEZEL
1.Using a pre-made bezel wire measure the circumference of the stone/bead.
2. Then the bezel wire needs to be cut and the ends filed to fit together snuggly.
3. The ends now need to be joined using a metal clay slip or plug.
4. The bezel is then let to dry fully before firing.
5. The bezel can either be fired in the kiln or with a hand held torch.
6. The bezel in now ready to be fixed to your clay base for a pendant/earring etc(Woohoo!).
                                   My fired bezel set into the metal clay pendant!

Sunday, June 12, 2011

and on the 4th day.....

On day 1, Pam and I talked fairly consistently about clay, techniques and life in general...today on our 4th day, we work silently in our own little worlds, within clay walls and open aired clay framed windows!
'You stupid woman', 'bugger, bum, poop' and other such exclamations break the silence and elicit either laughter or sympathy from the other party!


These occasional outburst of self abuse can be heard due to some construction drama, with fragile little clay walls collapsing or sin of all sins, one of us (mostly me; currently suffering a major case of the woopsie daisies) drops the fragile little unfired pieces. In one clumsy movement hours of labour can be undone! 


Tuesday, May 31, 2011

..belonging to me!

Last night I dreamt of a place foreign to me…surround by friendly strangers with a few soldiery faces that somehow held a place in my memory. With a sense of adventure we are searching for something……. something unknown to us that with a growing sense of urgency needed to be found!

Then in that accepted dream like sense of time and space, we are looking at a collection of half made beaded object, strewn out for all to see on a large well worn wooden table, as if abandoned by their creator. In the distance beyond my  vision of the gathering of unrealised creations, I see a university, a place I have visited before(but neither in dream or reality can place when or where). It is dark and brooding, with the look and lure of Hogworts in Harry Potter. It leaches un told stories of ancestral wisdom that belongs to me....of crafts and creations yet to be realised....of crafts and skills that these Inspired Hands
are aching to recall!


So here I am on the first day of my mentorship with Pam Annesley with hands stirring and inspired from last nights dreams and ready to play with silver clay!

Sunday, May 22, 2011

Metal Clay - WTF??

...and what exactly is metal clay I hear some of you ask???


Metal clay is just a huge big pile of awesomeness thats what!!!
Its just that; a clay, made from metal. You can get metal clay in silver, copper, bronze and gold.


Metal clay is crafting medium consisting of very small particles of metal such as silvergold, bronze or copper mixed with an organic binder and water for use in making jewelrybeads and small sculptures. Originating in Japan in 1990, metal clay can be shaped just like any soft clay, by hand or using molds. After drying, the clay can be fired in a variety of ways such as in a kiln, with a handheld gas torch, or on a gas stove. The binder burns away, leaving the pure sintered metal. Shrinkage of between 8% and 30% occurs (depending on the product used). 


I personally am only looking at silver clay, as I personally am a silver gal!


SIlver clay is made up of 90% fine silver powder which is mixed with 10% water and organic binder to make a clay.